Update: I now have an entire page dedicated to Sensory Processing/Play. If you are looking for more information about sensory play, click here.

The term “sensory” is becoming more mainstream, but I know it is still a foreign concept to many people. So, before I dive into what the sensory tunnel is, let me explain a little about “sensory” play, and I do mean a little, this is a very broad topic that I could devote an entire blog to. Sensory play/integration/processing (a variety of terms are used depending on who you are talking to) refers to our ability to take in sensations throughout our environment. I am talking about the five senses (get it sensory) we all learned about in school: sight, sound, touch, taste, and smell. In addition, we also receive input about where we are in space (i.e.: my hand is holding up the phone), which is called proprioception. The receptors for proprioception are located within the joints throughout our body, as our receptor for sight is our eyes. Vestibular input provides our brain with information about our body’s movement, such as when we are driving on a car or riding a swing. The receptors for vestibular input are located in our inner ear. Our brains are constantly taking information or input in from these various senses and processing it. Providing kids with sensory-rich activities helps to organize their systems and may improve their motor planning and attention to tasks.
The sensory tunnel is a “sensory-rich” play idea that is great for kids 3 and up, although a 2 year old can do it with encouragement and help. I have done this with kids as old as 14 and they really enjoy it. There really is no limit on age. Basically, a sensory tunnel is a large, stretchy, tube shaped piece of fabric that you can crawl through.

 Another child or adult will need to hold one end open so that your kid can climb through. Also, this provides some resistance for your kid while they are climbing through. Younger children may get frightened if they can’t see out the other side. Have another person hold open the other end so they can see the light at the other end of the tunnel, literally. You may even need to bunch it up or fold it inside of itself to make it shorter, until they get the hang of it. One other thing you could try is placing one opening of the tunnel around a pop up tunnel . This helps keeps an opening and makes the tunnel longer for more crawling.
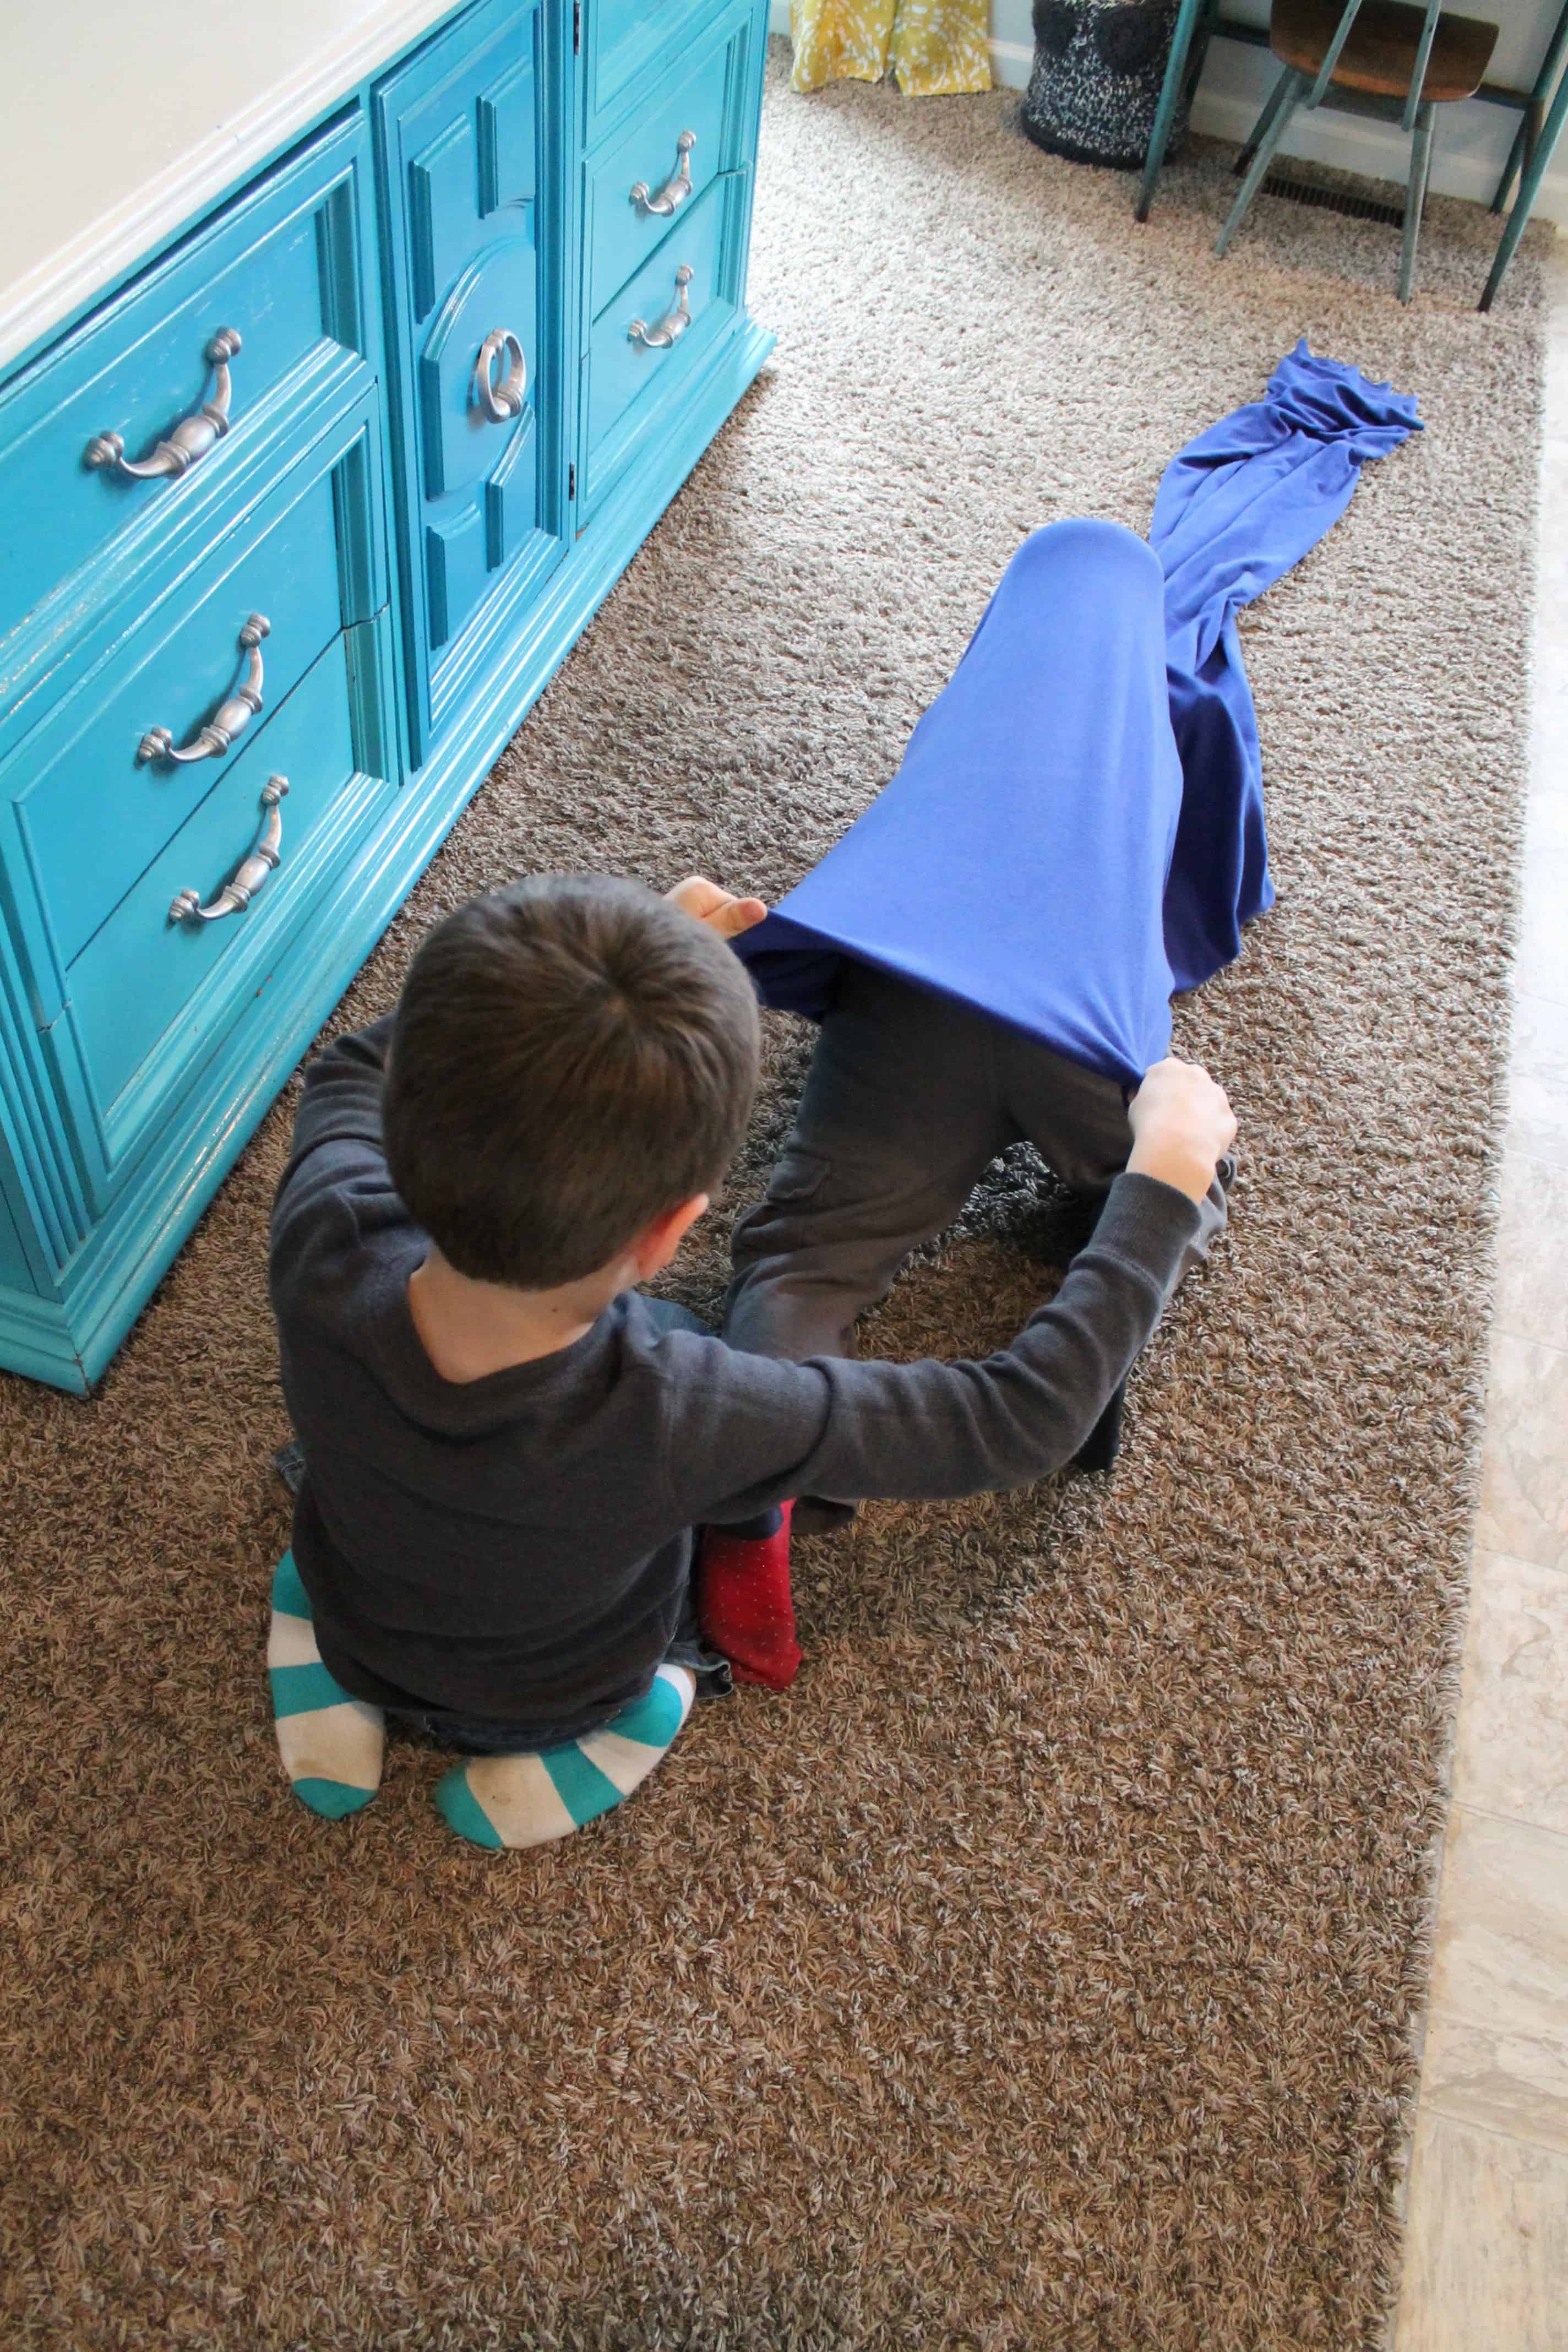
- Hide objects in the middle of tunnel and have your kid go through to find them. This particular task helps improve tactile discrimination, which is the ability to discern what an object is through touch, not sight. Kids really enjoy looking for hidden objects and figuring out what they are in the dark.
- Wrap the tunnel around your kid tightly, like a burrito, if they tolerate it. Some kids may not like this activity, but if your kid is cuddly or likes climbing in tight spaces they may really enjoy this. Sam didn’t like his arms wrapped inside, but you could certainly wrap them up mummy style, which would give even more proprioceptive input. In the picture above, I am pulling the wrap off so that Sam spins quickly- great for vestibular input. With sensory activities, you always want to follow your child’s lead and watch for any cues that they may be uncomfortable. Be quick to stop immediately if they seem unsure at any point. Vestibular input can be very strong and can cause nausea. Never force a sensory activity. Encourage, but don’t force.
I found fabric column slips on Oriental Trading for $12.07. Do you think these would work?
Hi Tiffany! For use with a sensory tunnel, as long as it’s stretchy fabric that has a big enough opening for the child to crawl through, it should be fine!
Best,
Kalyn
Does anyone have an idea of where to buy tubular shaped jersey fabric? JoAnn Fabric doesn’t have it. Thanks.
I don’t know why they aren’t selling this anymore? I’ve heard of others having a hard time too and haven’t been able to find any resources online. If you are able you could by a piece of jersey fabric and just sew it down the middle into a tube, it won’t need a hem.
At Walmart they have “5 yds for $5” of (cheap) knit fabric, but you do have to sew a seam in it to make a tube
Thanks for the tip!! 🙂
I have a maxi skirt made of stretchy jersey that would be great as a tunnel but I may not be ready to give it up! Perhaps a trip to the thrift store is in order. And if I could find 2 I could sew them together.
Leanne,
Two maxi skirts sewn together sounds like such a creative solution! Thanks for sharing the idea it with everyone else! We hope it is really helpful for your little one.
Best,
Andrea
This looks like fun! I love sensory play and tunnels. I love your explanation! I am going to try JoAnn Fabrics and hopefully use a 50% coupon!
Thanks- your kids will love it!
Yay, great! Was it a chain fabric store, I’ve had reports of some people having difficulty finding the fabric?
Thank you so much for this great idea! I went to the fabric store today and bought 2 yards of this tubing fabric for $12. My son is going to love this. When he was smaller he use to squish inside of a jersey pillow case. This fabric is the same material, only tube shaped. 🙂 I had been wanting to buy one of those body sock things for him, but they are so expensive.
I went out and got the material for the tunnel, and it was already sewn like a tunnel at the fabric store. I was gonna save it for Christmas but couldn’t wait to see how my son would feel about it. He absolutly loves it and has been “wearing it” for like a half hour. He wants to wear it to bed but I said “no”. Anyways Thank You so much for the idea.
That is awesome! Yes, it is called “tubing” fabric. Most fabric stores have this, glad you found it!
I made a tunnel like this from my old tee shirts. I took about 7 large or xl women’s tee shirts, cut them straight across right below the arm pits, and sewed them end to end to create a tunnel. I made sure to sew the shirts on the ends so that the tee shirt bottom hem was at the very end…that way I didn’t have to hem it myself. Good way to use up old shirts that have small stains or holes. And it was free 🙂
OMG! I love that idea, thanks so much for sharing, going to pass it along on my facebook page too!!!
Thank you for stopping by and for hosting the linky party. Lots of great ideas!
We have a big plastic tunnel about the same size, but a child’s body would definitely make more contact with a cloth one! And you’ve included some great information about sensory play–thanks for sharing at Teach Me Tuesday!!